|
U0
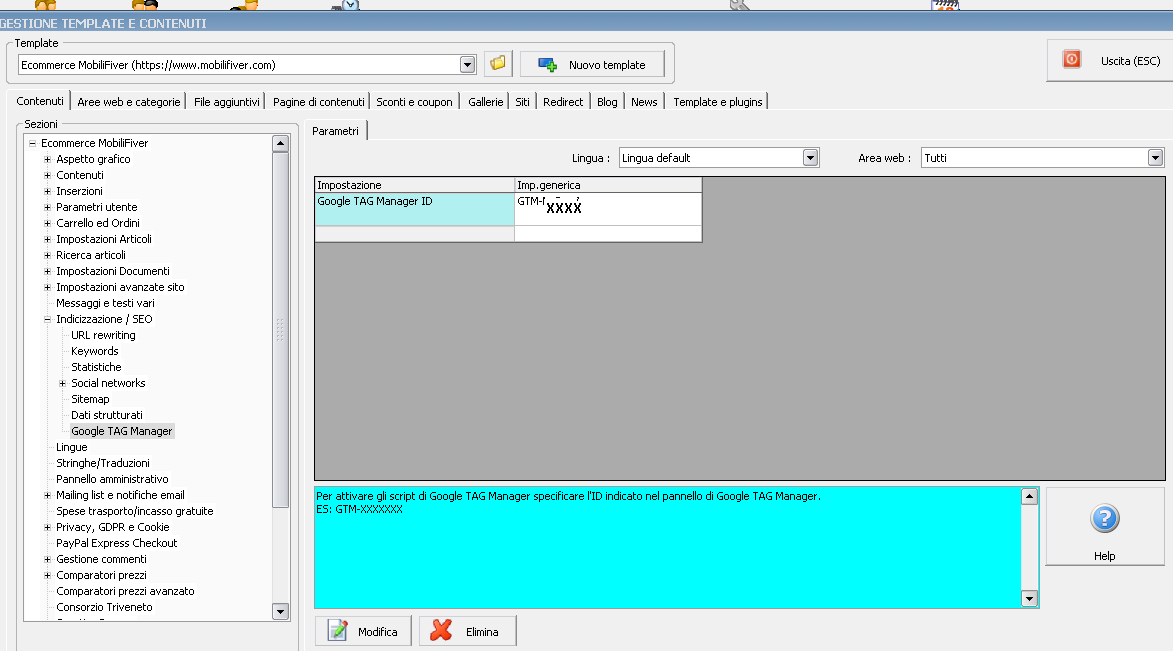
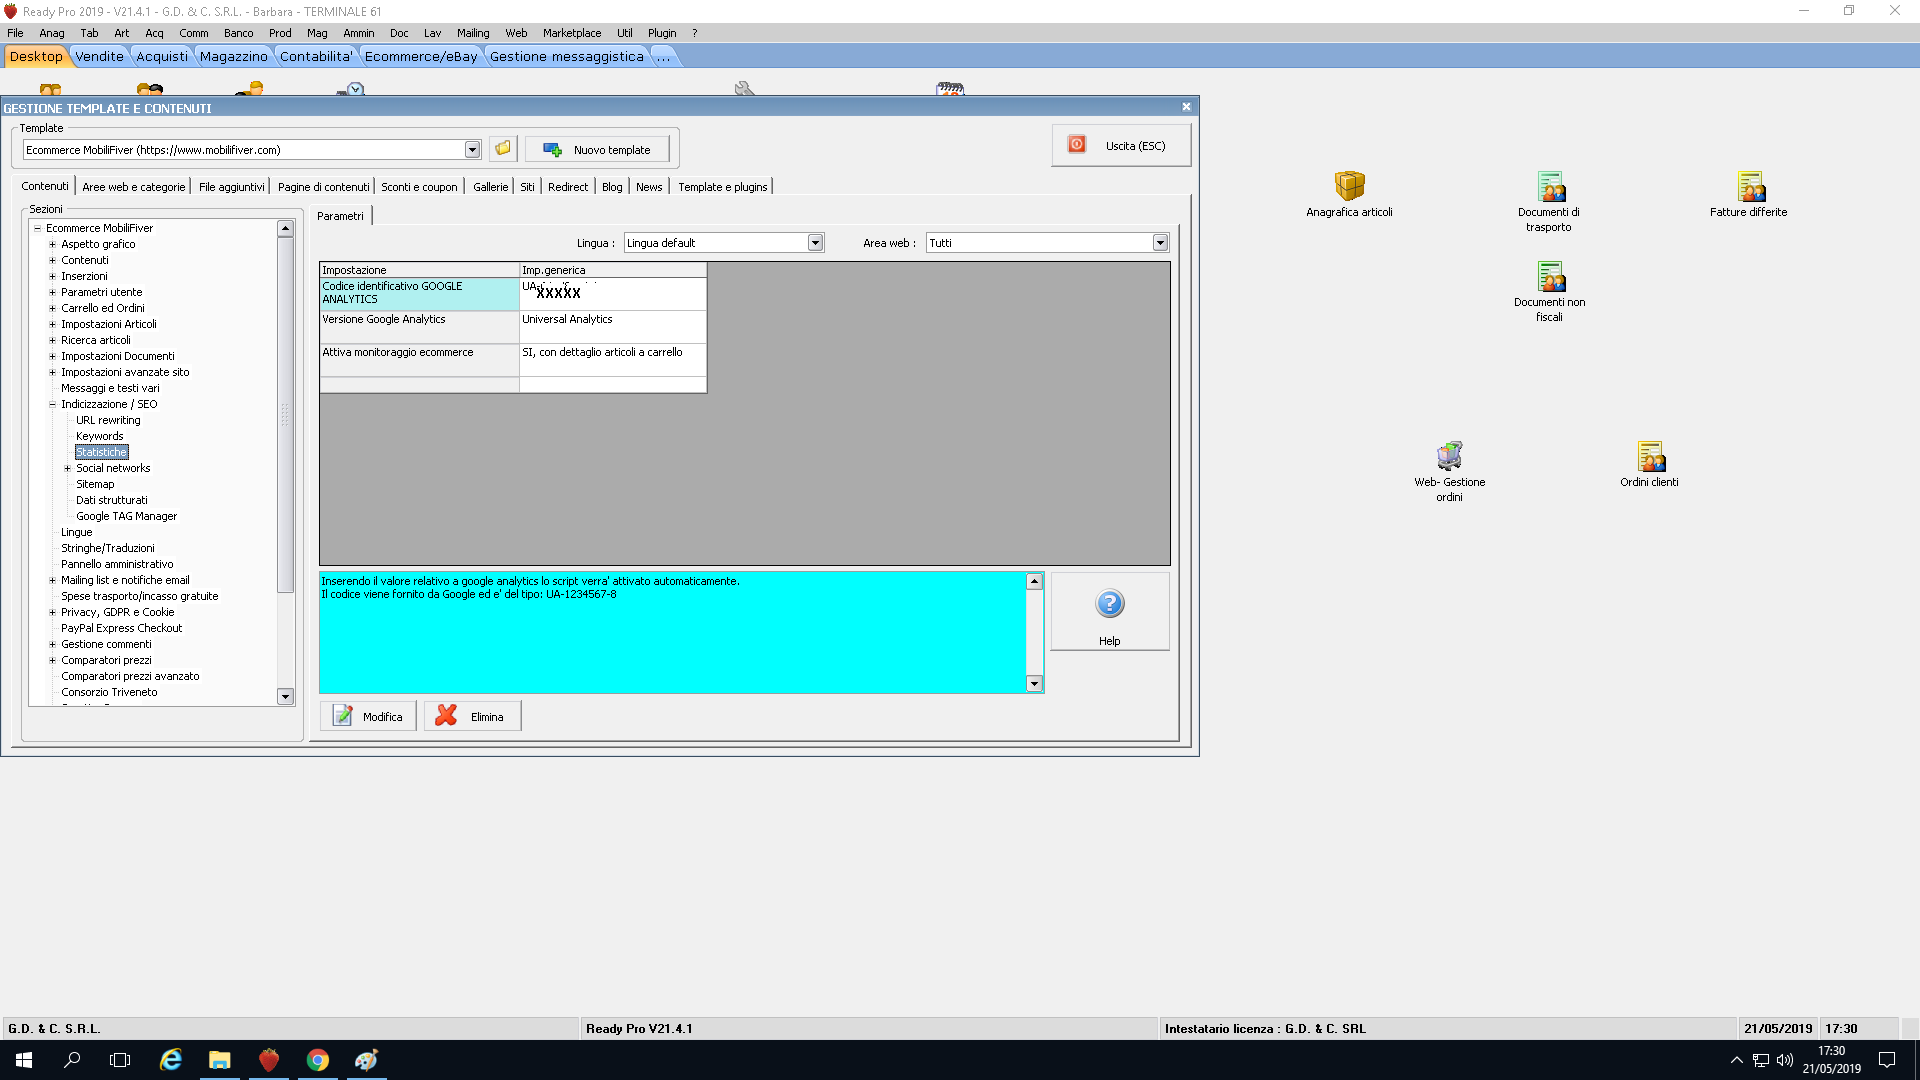
domanda, dovremmo inserire il tag di monitoraggio delle conversioni di Google Ads.
Ci suggeriscono di inserire il codice in ogni pagina (vedi sotto). Non è mica presente una funzione nativa su ready, come fatto per analytics, per inserire il codice ID?
dicono così:
How to use the tag
For conversion tracking to work, you'll need to install the conversion tracking tag, which consists of a global site tag and an event snippet. If installing the tag with Google Tag Manager, follow these instructions instead.
If any of your web pages are built using AMP, you'll need to add tags to both the AMP and HTML versions. Instructions are included for both.
HTML PAGES
1. Install the global site tag on every page of your website.
a. Open the HTML for each page.
b. Choose from the following options:
 If you haven't installed the global site tag on your website, copy the tag below and paste it between the head tags (<head></head>):
<!-- Global site tag (gtag.js) - Google Ads: XXXXXXXXXXXXXXX --> <script async src="https://www.googletagmanager.com/gtag/js?id=AW-XXXXXXX"></script> <script> window.dataLayer = window.dataLayer || []; function gtag(){dataLayer.push(arguments);} gtag('js', new Date()); gtag('config', 'AW-xxxxxxxx'); </script>
See more guidelines on setting up the global site tag.
 If you installed the global site tag on your website from another Google product (example: Google Analytics) or from another Google Ads account, copy the 'config' command below and add it to every instance of the global site tag, right above the </script> end tag.
gtag('config', 'AW-xxxxxxxx');
 If you or a manager account already installed the global site tag on your website while setting up the tag for another conversion action, make sure that the tag is on every page of your website and check that the 'config' command has this Google Ads account's conversion ID: AW-xxxxxxxx
c. Save the changes to your webpages.
2. Install the event snippet on the conversion page. This is the page your customers reach on your website after they've completed a conversion the "Thank you for your order" page, for example.
a. Open the HTML for the conversion page.
b. Copy the snippet below and paste it between the head tags (<head></head>) of the page, right after the global site tag.
<!-- Event snippet for Purchase conversions conversion page --> <script> gtag('event', 'conversion', { 'send_to': 'AW-xxxxxxxx/fwC1CLua258BEKeMh-EC', 'value': 1.0, 'currency': 'EUR', 'transaction_id': '' }); </script>
c. Add code to dynamically pass a value to the transaction_id parameter. When tracking purchases, sales, or leads on your website, this parameter ensures that each conversion is only counted once.
d. Add code to dynamically pass values to the value and currency parameters. This allows you to track conversions with transaction-specific values, such as the revenue from a sale.
e. Save the changes to your webpage.
AMP PAGES
You should follow these instructions for any of the pages built using the AMP framework.
1. Install the global site tag on every page of your website.
a. Open the HTML for each page.
b. Choose from the following options:
 If you haven't installed the global site tag on your website, add these two tags:
1. First, copy the tag below and paste it between the head tags (<head></head>), before the AMP JS library.
<script async custom-element="amp-analytics" src="https://cdn.ampproject.org/v0/amp-analytics-0.1.js"></script>
2. Then, copy the tag below and paste it between the body tags (<body></body>) of all of your AMP pages
<!-- Global site tag (gtag) - Google Ads: 740410919 --> <amp-analytics type="gtag" data-credentials="include"> <script type="application/json"> { "vars": { "gtag_id": "AW-740410919", "config": { "AW-xxxxxxxx": { "groups": "default" } } }, "triggers": { } } </script> </amp-analytics>
3. See more guidelines on setting up the global site tag.
 If you installed the global site tag on your website from another Google product (example: Google Analytics) or from another Google Ads account, copy the line below and include it in the "config" section of every instance of the global site tag.
"AW-xxxxxxxx": { "groups": "default" }
 If you or a manager account already installed the global site tag on your website while setting up the tag for another conversion action, make sure that the tag is on every page of your website and check that the "config" section has this Google Ads account's conversion ID: AW-xxxxxxxx
c. Save the changes to your webpages.
2. Install the event snippet on the conversion page. This is the page your customers reach on your website after they've completed a conversion the "Thank you for your order" page, for example.
a. Open the HTML for the conversion page.
b. Copy the snippet below and paste it into the "triggers" section of the global site tag.
"C_3WPukY-5vTY": { "on": "visible", "vars": { "event_name": "conversion", "value": 1.0, "currency": "EUR", "transaction_id": "", "send_to": ["AW-xxxxxxxx/fwC1CLua258BEKeMh-EC"] } }
c. Add code to dynamically pass a value to the transaction_id parameter. When tracking purchases, sales, or leads on your website, this parameter ensures that each conversion is only counted once.
d. Add code to dynamically pass values to the value and currency parameters. This allows you to track conversions with transaction-specific values, such as the revenue from a sale.
e. Save the changes to your webpage.
Learn more about adding a conversion tracking tag to your website.
|